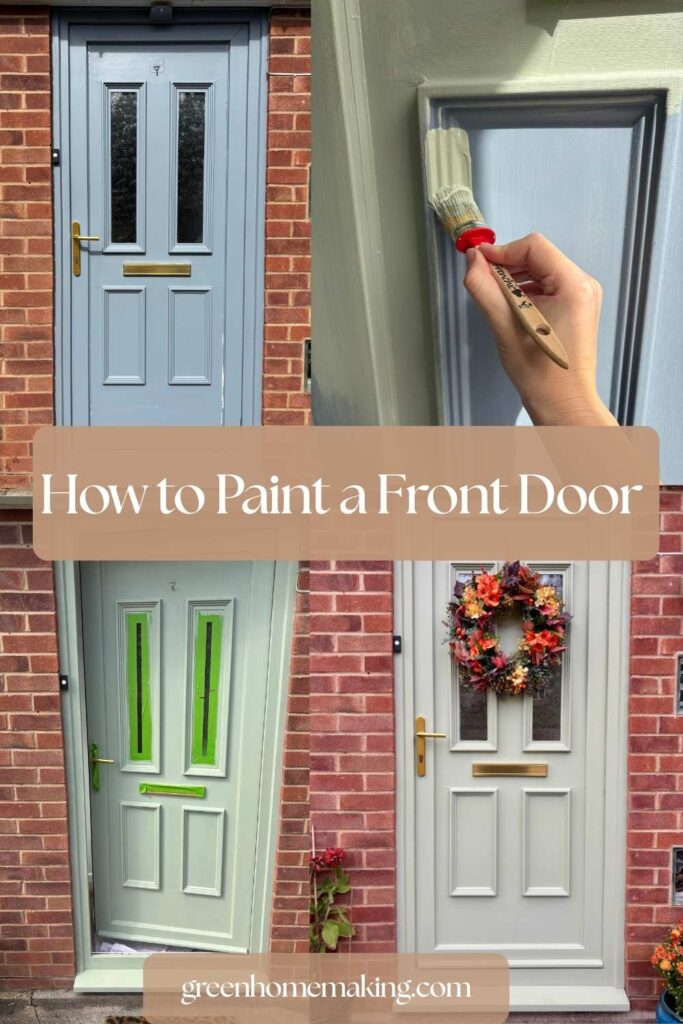
How to Paint a Front Door
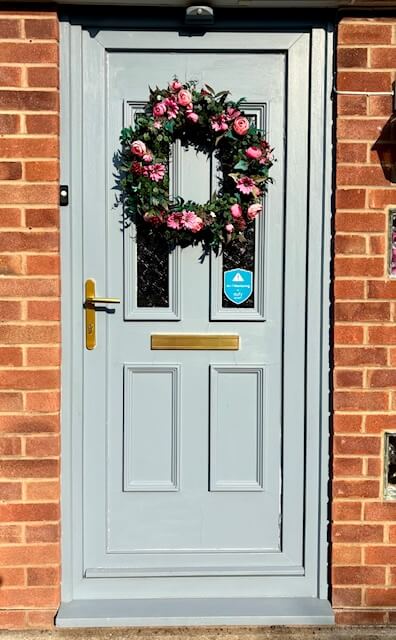
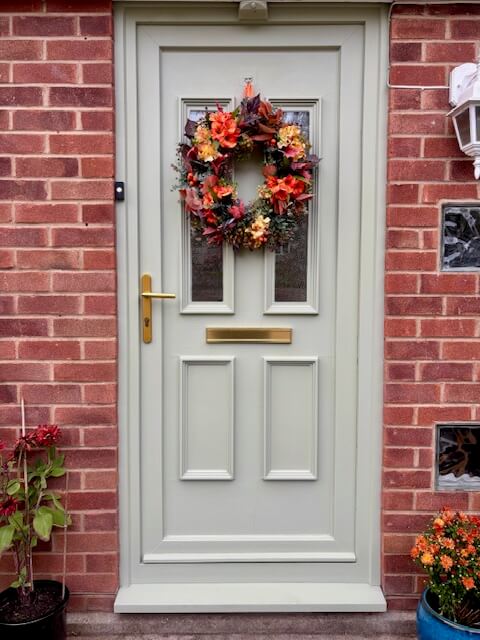
This is a step by step guide on how to paint a front door. I painted my uPVC front door using Frenchic Paint in the colour ‘Wise Old Sage’. Frenchic Al Fresco paint can also be used on plastic, metal and wooden surfaces.
You can have a freshly painted front door complete within a day, providing you time it right with the weather. Painting your front door is a great way to increase your curve appeal and much more cost effective than buying a whole new front door.
This post contains affiliate links. As an Amazon Associate I earn from qualifying purchases. There is no extra cost to you. Thank you.
Benefits of using Frenchic Paint for DIY projects
- No need to use a primer
- Two coats of paint is usually sufficient
- It’s reasonably priced and one tin of paint goes a long way
- It can be applied on to a number of different surfaces
- Lovely range of colours to choose from
Where to buy Frenchic Paint
Frenchic paint is a British brand that has over 500 stockists throughout the UK, Europe, North America and Australia. Visit the Frenchic website to find your nearest independent retailer, who will hopefully be able to ship to your location.
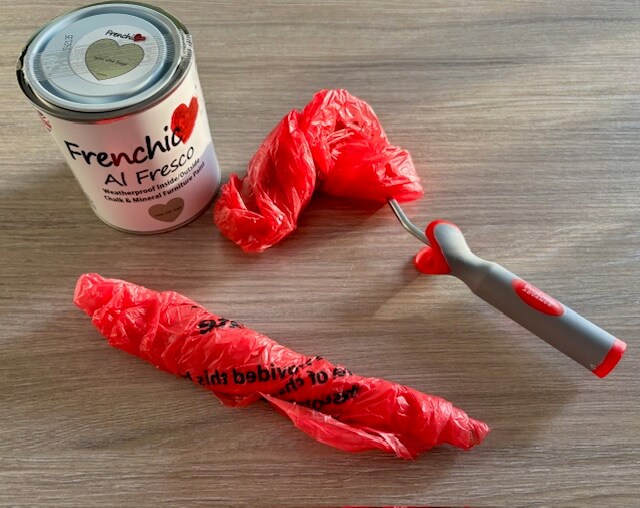
For this project I have used Frenchic Al Fresco paint, which is suitable for outdoor projects. The colour is called ‘Wise Old Sage’, which is a lovely greeny grey. I have also used it when upcycling old pieces of indoor furniture.
Frenchic also has a range of chalk wall paint and specialist furniture paint.
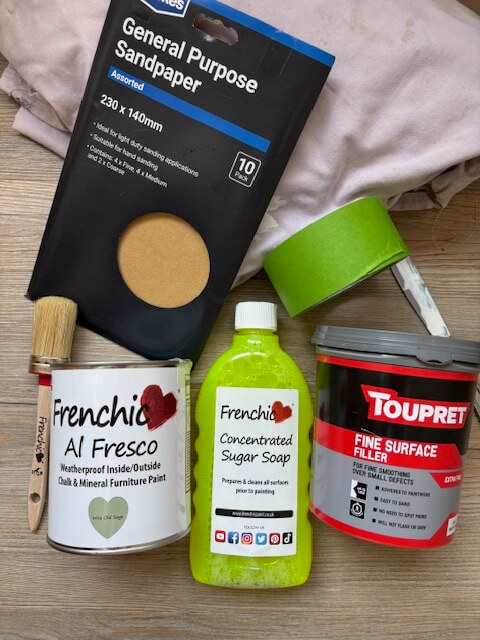
Tools and materials needed to paint your front door
- Sandpaper
- Sugar soap
- Washing up bowl (or other large bowl)
- Sponge
- Rubber gloves
- Masking tape
- Paint
- Paint brushes (I like ones with rounded or angled heads)
- Knife or alternative tool to lift the lid of the paint tin
- Old bed sheet or a plastic dust sheet to protect surfaces
- Surface filler (if your door has any small cracks in it)
How to Paint a Front Door
Step 1
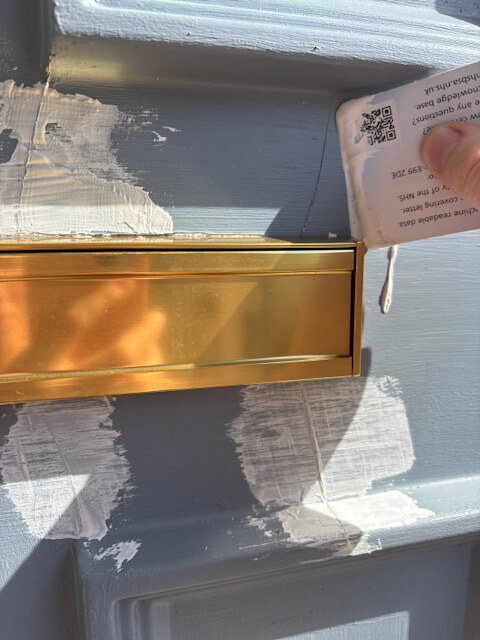
Prepare your door for painting by filling in any cracks with fine surface filler putty. I used an old plastic membership card to apply the putty to the cracks in the door.
If your door does not have any cracks in it then you can skip this step.
Step 2
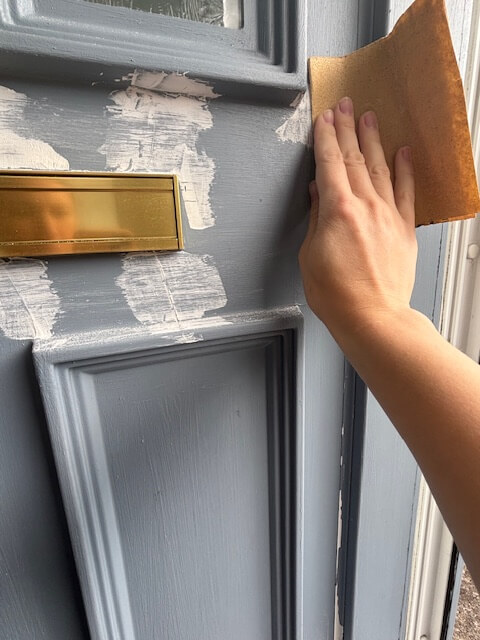
Lightly sand your door using sandpaper to key the surface, so that the paint has something to hold on to. I used medium grit sandpaper for this project.
The sandpaper will also help to remove any flaky bits of paint, if your door has been painted previously. You will also need to smooth over any areas where you have applied surface filler.
Step 3
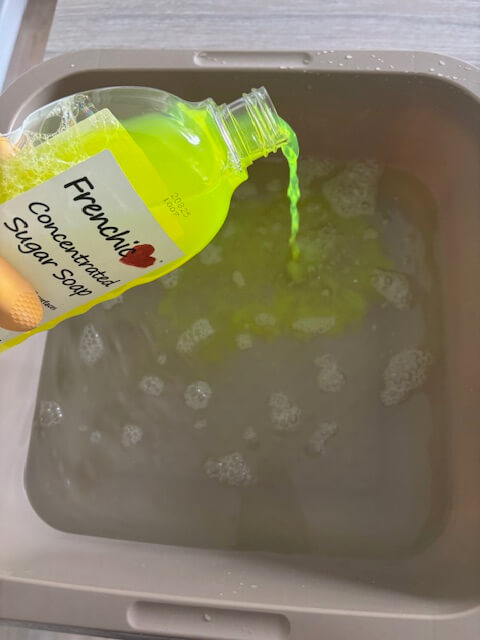
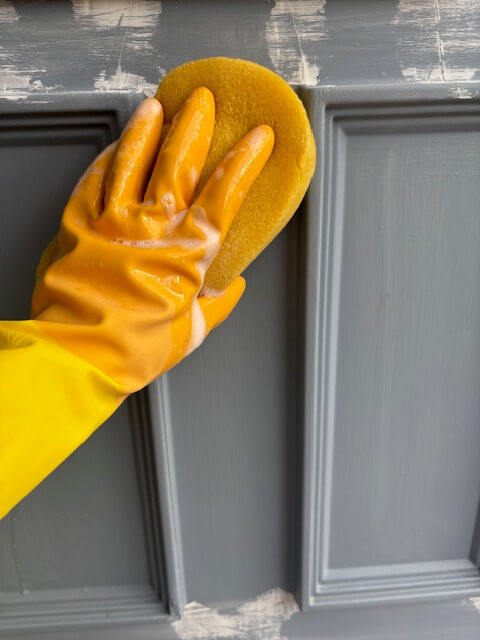
Clean the surface of your door using sugar soap diluted in hot water. Follow the instructions on the bottle of the sugar soap, which will give you the measurements of how much sugar soap and water to use.
The sugar soap will help to remove any dirt and grease from your door and give you a nice clean surface to work with. I would recommend wearing rubber gloves when using the sugar soap.
Step 4
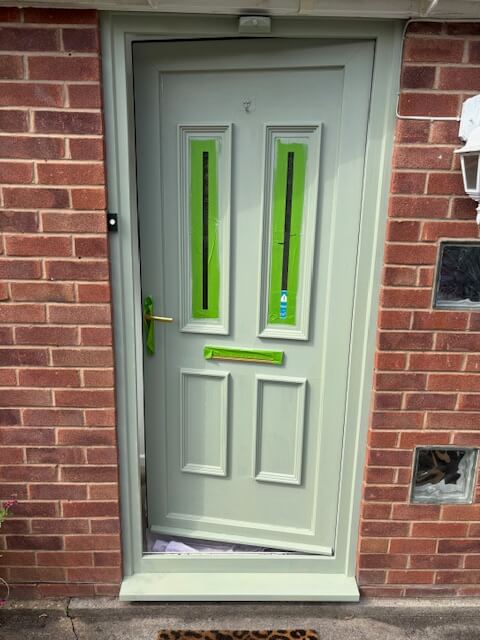
Use masking tape to protect any hardware on your door (handles, doorbells, knockers and letterboxes).
Use masking tape around the edges of any glass windows within your door as well, to avoid getting paint on them.
Step 5
Lay an old bed sheet or large plastic covering down to protect the floor from any splashes of paint.
Step 6
Start painting the first coat. Start at the top of the door and work your way down. Use nice long brush strokes and try to apply the paint evenly.
Use vertical brush strokes to paint the length of the door (from top to bottom).
Apply horizontal brush strokes when painting the width of the door (when moving from left to right).
It’s important to keep your brush strokes consistent between first and second coats.
Apply the paint to the surrounding door frame as well, if you wish.

Step 7
Once you have applied the first coat of paint, allow at least 2 hours for it to dry. Drying time will depend on weather conditions.
I don’t wash my paint brushes in between applying the first and second coats of paint. Instead, I wrap the brush head tightly in a plastic bag, to keep them from drying out.
Step 8
Once the first coat of paint has had enough time to dry properly, start applying the second coat of paint, using the same brush stroke techniques outlined above.
Once you have applied the second coat of paint you can remove the masking tape from any hardware or glass.
Check to make sure that the masking tape hasn’t left any gaps in the paintwork and touch up any areas that may have been missed.
Keep your door open whilst the paint is drying, to avoid any wet paint from sticking to the door frame. See the Additional Tips section below for security considerations.
Additional Tips
Check the Weather Forecast: Ideally you want to be painting on day when no rain is forecast for the next 48 hours and the temperature is between 10-32 ℃ (50-90 ℉).
Security Considerations: Depending on how safe you feel in your neighbourhood, it may be worth putting the chain across on the inside of your door whilst the paint is drying. Then you can leave the door slightly ajar, but still have some level of security in place.
You could also place a heavy object like a chair or table directly behind the door as an extra barrier to entry.
Allow Sufficient Time for Drying: Once the paint feels dry to the touch then you can close your door properly, but bear in mind that it might be slightly tacky around the door frame for a day or so.
If you hang a wreath or any other decorations on your front door then it’s best to wait about a week for the paint to fully cure, before putting anything against it. Otherwise you might risk scuffing the paint.
I really hope you have found this post helpful. If so, please PIN FOR LATER.
Good luck with your front door makeover!


2 Comments